Preparation and Setup
Content
Due to the fact that Voyager is a Cloud module, no installation is necessary; only a few settings will have to be made in the protel Cloud Center.
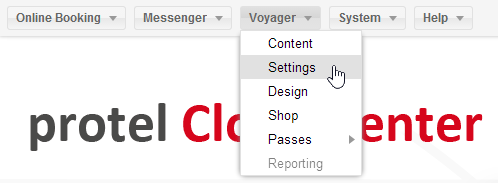
Click on the Voyager menu in the protel Cloud Center and select Settings.
Settings
This will open a new window in which you can make all of the general settings for protel Voyager. Each of the options will be described in more detail in the next sections.
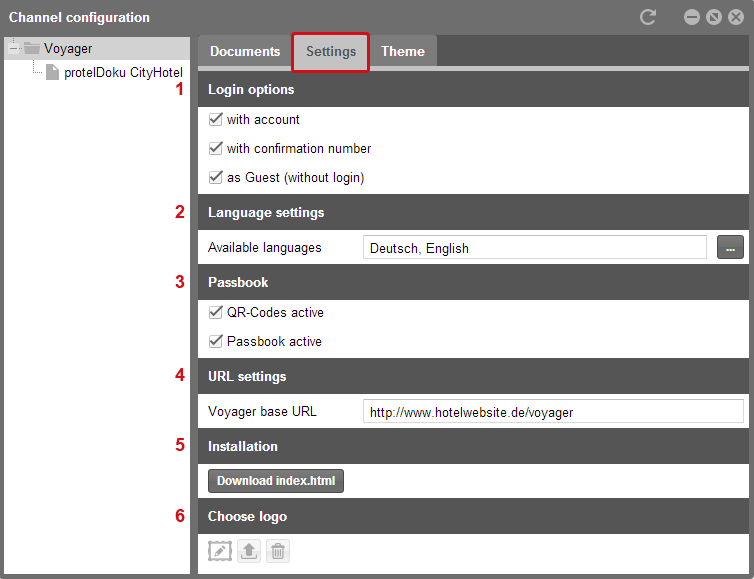
1. Login options
There are various ways for your guests to log in to protel Voyager. By selecting the check boxes, you are selecting the options you would like to offer your guests.
With account
Guests who have made their reservation via protel WBE, have most likely created a user account. This login data can also be used to directly log in to protel Voyager.
This setting will then later appear in the app as follows:
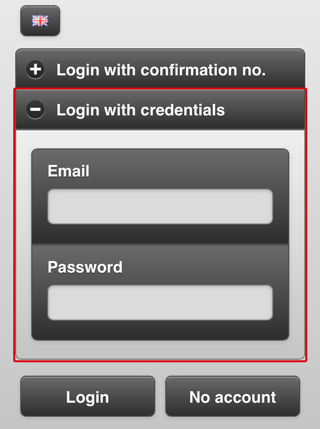
Example illustration of a protel Voyager login screen
Login with confirmation no.
The second option for the guest is to login with the name and the confirmation number which they had received in their reservation confirmation.
The login screen will then look like this in the app:
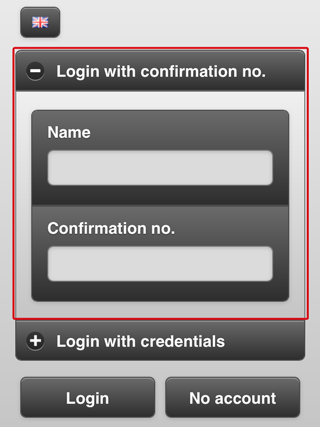
Example illustration of a protel Voyager login screen
As guest (without login)
However, you can also offer Voyager to your guest without login data. This would allow someone who found the app on your website to inform themselves about your hotel before making a reservation.
It is, however, important to note that you should deactivate some of the services for use without explicit reference to a guest, such as the use of room service. The configuration of the individual contents will be described in the next chapter in more detail.
If you activate the guest login, the [No account] button will appear in the app next to the [Login] button. This could look like this:

Example illustration of a protel Voyager login screen
2. Language settings
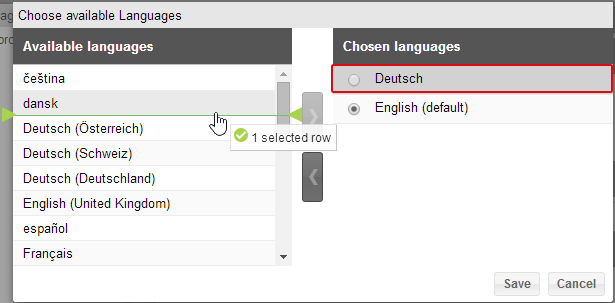
You define in the language settings which languages you want to offer in protel Voyager. At the moment, English and German are available. Click the [...] button, to make changes to the language settings.

A new dialog box opens, by which you can select the languages or move selected languages back to the list of available languages by using drag & drop. For example, click on German and keep the left mouse button depressed while dragging the language to the available languages to the left. Your protel Voyager will now only be available in English.
When you are offering more than one language use the button in front of the chosen languages to mark the default language.
3. Passbook
Important! This function is currently not available in protel Voyager due to technical reasons. |
This is where you determine if and how you would like to use QR codes.

QR-Codes active
Activate QR codes to enable your guests to take advantage of quick check-in. This QR code can simply be scanned with protel for iPad and the guest can then check in with a tap of their finger. Upon arrival, the guest can access the QR code by means of the yellow button located in protel Voyager. The employee scans the code with protel for iPad and the check-in process is finished.
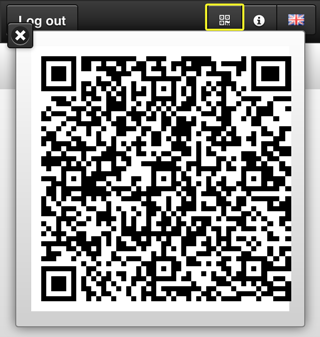
Example of a QR code in Voyager
Passbook active
By activating Passbook, you are giving all of your guests who have an iPhone the additional possibility of saving the QR code as a pass which has been especially created for the iPhone. Passbook is a virtual briefcase for the iPhone, enabling your guest to save all of their coupons and theatre tickets. To do so, create a pass made of the QR code and Voyager link in the protel Cloud Center.
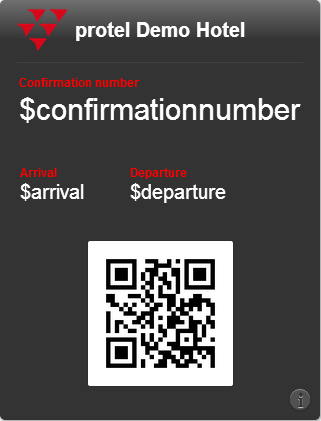
Example illustration of a pass template for protel Voyager
With the help of replacement codes, each guest will receive a pass with their own reservation data. On the day of arrival, the guest will be shown a push message reminding them of the check-in. Even after the guest has departed, the pass located in passbook is saved, thus also saving the link to protel Voyager.
Additionally, a button is added to protel Voyager by activation of Passbook, enabling the guest to save their pass to passbook arbitrarily. When the guest taps it, the pass created by you will be saved to the guests iPhone.
4. URL-Settings
For using protel Voyager you will need to save a file to your web server. This file (index.html) will be downloaded in next step. Here in the URL settings, you can decide the location on your webserver where the file is to be saved. This location is also the Voyager link which you will forward to your guests. We therefore recommend you to agree upon an appropriate URL with your web designer.

Voyager > Settings > URL settings
Important! If you enter an https domain, you can only link to https pages from protel Voyager. The linking of external pages from http servers is not possible due to security reasons. |
5. Install
Click the [Download index.html] button. You then forward the file index.html to your web designer so that he can save it to your web server at the previously defined URL.
Notes for the Web Designer If you would like to add additional design options to the ones already available in the protel Cloud Center, you can link a CSS file in the index.html. To do so, enter the path to your CSS file in square brackets behind “customCss”. If you save your CSS file to the file with the same name on the webserver, the same file in which the index.html is also located, you will only have to enter the name of the file. To change the appearance of individual pages, use the respective IDs of the single pages (e.g., #start or #myStay). For these IDS, you can enter the settings in your CSS and determine a background image for the home page, for example. Please consider the case sensitivity of the IDs!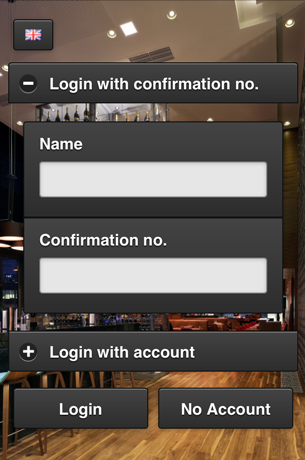
Example illustration of a login screen in protel Voyager |
6. Choose logo
You can also upload your hotel’s or hotel group’s logo. This logo will then be displayed in the login screen. Tap the arrow symbol and select the logo from the respective storage location. Your logo will be automatically scaled should it have a height of more than 150 pixels.

The logo is displayed above the login form. This could look something like this:
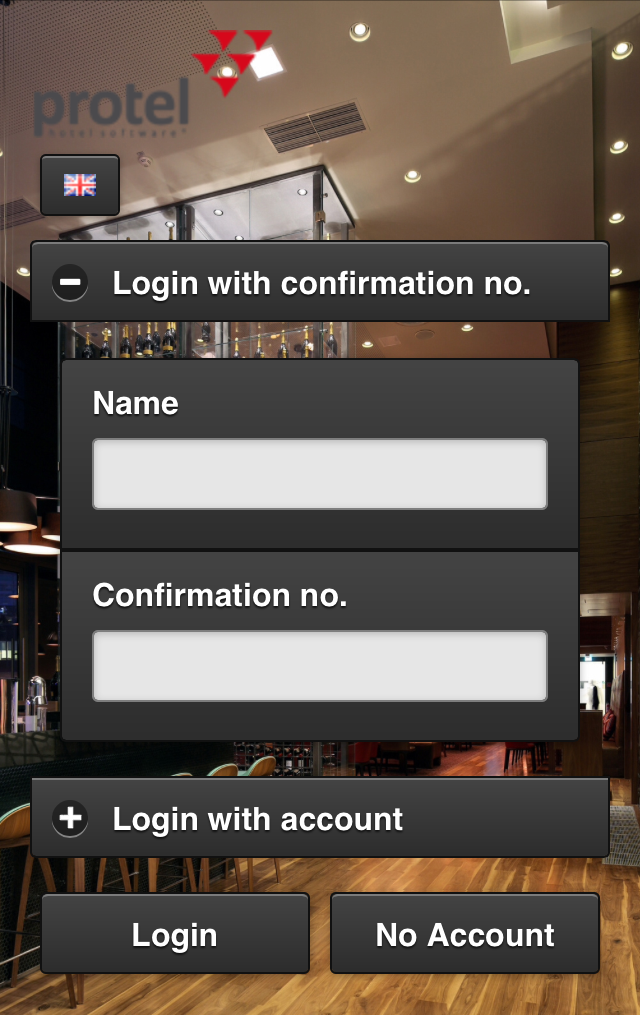
Example illustration of a login screen with a logo