Configuration of contents
Displaying contents in protel Voyager
protel Voyager enables you two different options for displaying your contents. You can use either the list format or the tiles format for the protel Voyager desktop.
Open the Voyager dialog box in the protel Cloud Center.
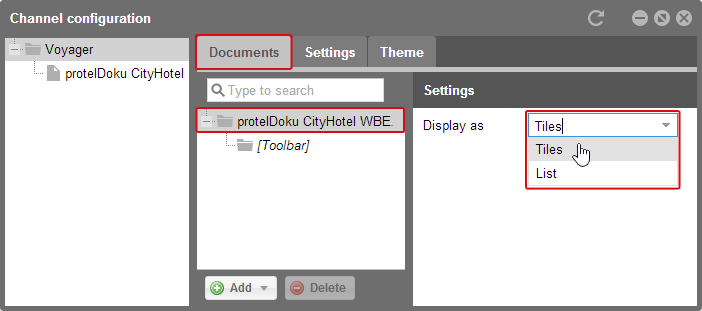
Voyager > Contents > Documents > Settings
In the “Documents” tab, select the hotel name from the middle column. The display settings will then appear in the right part of the window. You will then be able to decide if you want to display your contents in the form of a list or in tiles.
This could look something like this:
TILES |
LIST |
|
|
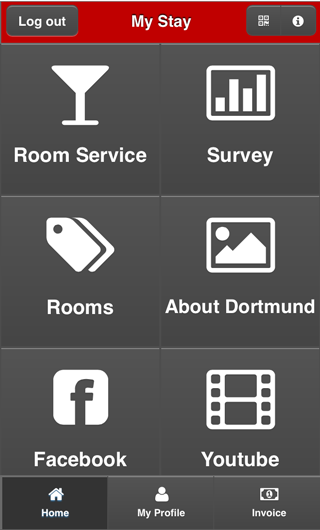
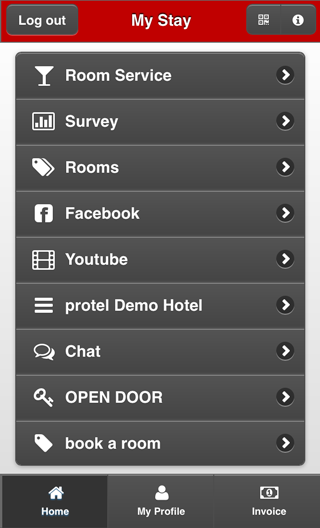
Two different display options for the protel Voyager desktop
Because the settings can be arbitrarily changed, feel free to test which variation you like best. Both options automatically adapt to every smartphone or tablet in order to optimally take advantage of the display size.
Display and release of individual contents
No matter which contents element you select, you will receive the same display and viewing options for the contents.
When wanting to add new contents, you can edit them in part of the window to the right. When you scroll down in that part of the window, the areas “Display settings” and “Visibility” will be shown.
Display settings
In the Display settings area, you can determine how the contents are to be displayed on Voyager’s desktop. “Theme” is an additional menu point which allows you to make general layout settings for all of the elements. This is where you can make special settings in order to design individual elements differently.
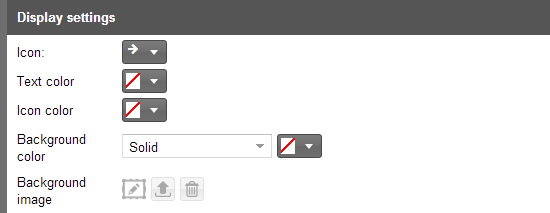
Voyager > Contents > Documents > Display settings
First, select a suitable icon for your contents, e.g., an info-page about your rooms.

Click the gray button to “Question types” bar to access the icon selection window.
Each content item has a title, for example “Rooms & Suites”, for which you can alter the text color in the next step.
Numerous colors are also at your disposal for the selected icon.
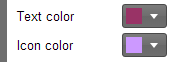
Click again on the gray buttons to change their color.
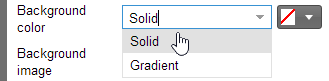
Afterwards you can select the background color. Depending on whether or not you have set the tile or list views, this will be the color for the tiles i.e., the list bar. In addition to that, you can also decide if the background is to be displayed as a solid or gradient color.

If selecting gradient, you can select two different colors which determine the beginning and the end of the color gradient.
The selected example settings in the screenshots appear in protel Voyager as shown:
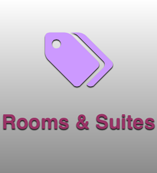
Example illustration of a tile in protel Voyager
Instead of a background color, you can also select a background image.

Click the arrow icon in order to select and upload an image.

A little preview of the image will then be shown.
This variation would look like this on protel Voyager’s desktop:

Example illustration of a tile in protel Voyager
When using a background image, the icon will no longer be displayed.
You can also define, if the title should be hided for some contents. That is especially useful, if an background image contains text.
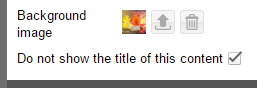
Therefore, set the check in the "Do not show the title of this content" box. This could like this, for example:

When displaying single contents, you can change all or only some of the elements described above. If you do not adjust the content-specific settings, the design which you have defined globally in the ThemeRoller will be used. It is, however, recommended that you select a suitable icon for each content; irrelevant of whether or not you alter the color options.
After selecting a color and wanting to use the global layout again instead, ...
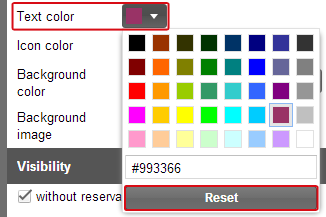
...open the color selection and click the [Reset] button located at the bottom.
Next, you will determine the content’s visibility.
Visibility
Visibility enables you to determine which contents are to be shown to a certain person at a certain time. Some contents can only be used effectively, if the guest data is available or only after the guest has arrived.
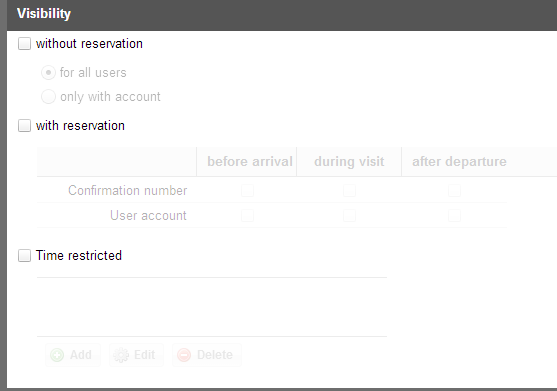
Voyager > Contents > Documents > Visibility
Note You can activate one or more visibility options. It is important that you select at least one option! If you do not select any visibility settings, the contents will also not appear in the app. |
Without reservation
There are many contents which you can make available even without reference to the reservation. For these contents, you can select the “without reservation” check box.
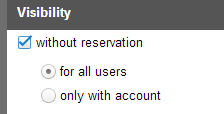
You will also need to differentiate if the contents are to be offered to all users without reservation or only for users who have logged in via their WBE account (i.e., guests for whom guest data is available). For example, if you would like information about your rooms and hotel to be made available to all users. If you want to survey all guests who have booked by means of your web booking engine you can display this survey only for guests with account.
With reservation
Some contents are only sensible if the guest has made a reservation at your hotel. For these contents, you can select the “with reservation” check box.
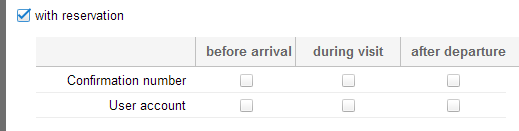
For guests with a reservation, you will be able to differentiate between the various stay statuses. When offering an online shop for your room service, it is recommended to make this available only during guest’s stay. To do so, you will have to select at least one check box in the during stay column. You will be able to differentiate if it is only supposed to be available for the guest logging in with the user account or with the confirmation number. Whether or not the guest has logged in with the confirmation number or his user account, does not make any difference for room service, as long as the guest is checked-in at the hotel when the order is made. For this case, it is always good to have both of the check boxes selected during the guest’s stay.
In principle, you should make your contents available to as many login variations as possible. You should determine whether or not there is a reason for not activating a content in a certain constellation and then make it available to all of the other variations.
For example, information about the rooms is always interesting; therefore, activate this content for guests with or without reservations and for all stay statuses.
Time restricted
Time restricted is the third filter option available. As soon as you have set a check into the “Time restricted” check box, you will be able to add a new time.
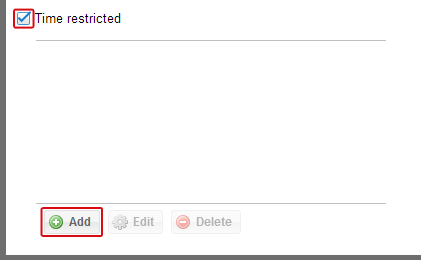
Click on [Add] and a new window will open.
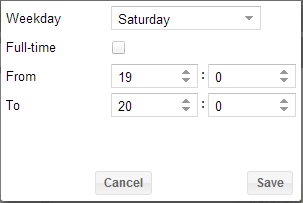
There you can select a weekday and a time when the feature is to be available and click on [Save]. This will, for example, enable you to offer special Happy-Hour or Weekend specials in protel Voyager.
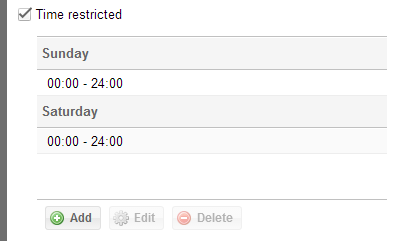
For example, should a special be available on Saturday and Sunday, add an entry for Saturday and an additional one for Sunday (each full-time). This would then be respectively displayed in the overview:
Please note that all of the filters can be arbitrarily combined. In other words, you can restrict the time-period and the user groups. For example, you can create a Happy Hour which is only valid on Saturdays from 7-8 pm for users who have a reservation during their stay.
As a result, your contents can be specifically targeted. Your guests will find it gratifying to repeatedly return to protel Voyager to find new and exciting offers.