Creating the Shop
Use protel Voyager as an additional sales channel. To do so, create one or more shops in the protel Cloud Center. The articles from your protel system data have already been synchronized in the protel Cloud Center and can easily be combined to form shops. For example, create a shop for your room service and another one for your wellness specials.
This chapter will assist you with creating a shop.
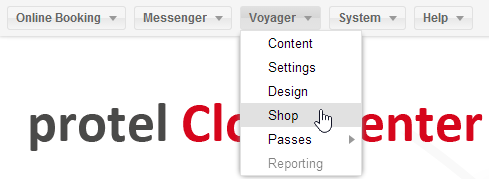
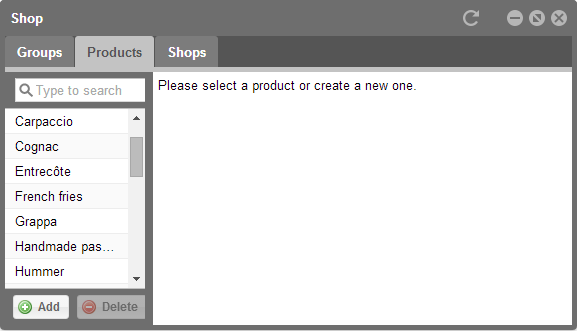
Open the “Shop” menu point in the Voyager menu.
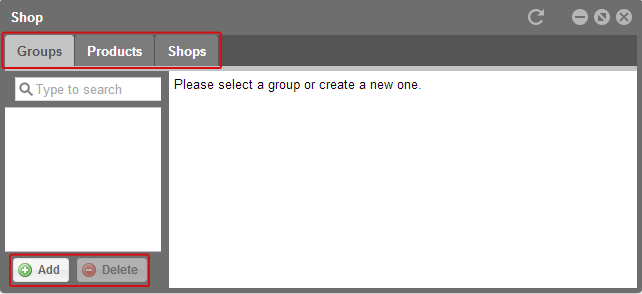
A window opens in which you can select three different tabs: Groups, Products, Shops. In each of these tabs, you have the option of adding or deleting something.
- Groups: Products can be allocated to different groups, in order to plan targeted analyses.
- Products: This is where to find all of the items from the protel SD, which have been released for the Internet (go to the check box in the protel SD “Show in Internet”)
- Shops: This is where you can create numerous shops which can be sorted based on topics. You can also create subfolders within a shop and individually allocate the products.
Groups
First, create groups for your products. These groups will be required later for the evaluation. For example, if you create a group for all of your breakfast items, you will be able to see the frequency in which the guests use the breakfast service as room service.
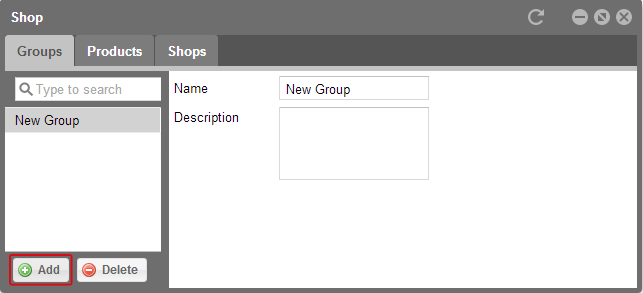
Click the [Add] button and a new group will be added.
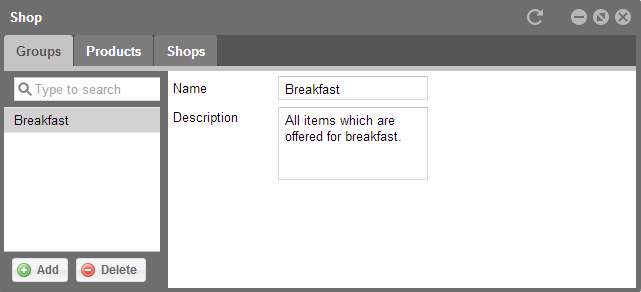
In the right part of the window enter a name and a description for the group. The group will directly be saved.
After you have created all of the groups, you can change to the next tab.
Products
This is where to find all of the articles from the protel SD, which have been released to the Internet
Should an article have not yet been released for the Internet and should, however, be sold via the online shop, the option can still be activated in the protel SD.
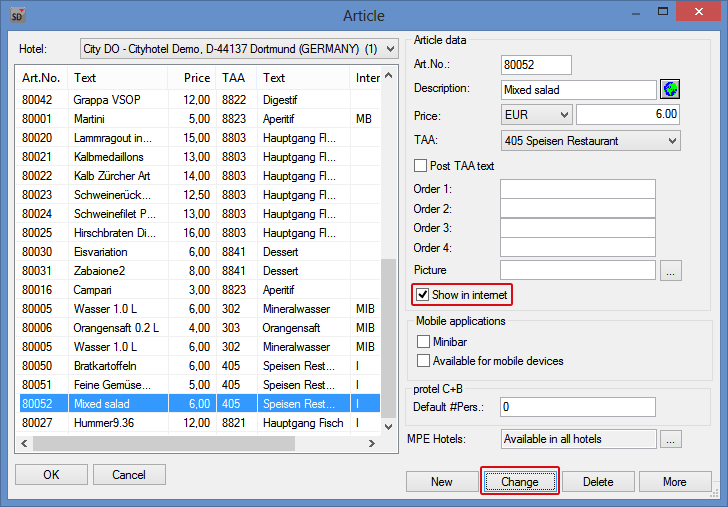
protel SD > Bookkeeping > Revenue and payments > Article
In protel SD, open the “Articles” dialog, select the desired articles and activate the “Show in Internet” option. Confirm these changes by clicking the [Change] button.
After the articles have been released, reload the "Products" tab in the protel Cloud Center and the new articles will also be listed together with the products.
Note We recommend saving the articles in protel SD and then to expand on them by using images and extra properties in protel Cloud Center. The articles from protel SD will be directly synchronized to the protel Cloud Center; this way all of the products that you want to offer in the shop are also available in protel HMS and the articles there, for example, can be booked to the guest’s invoice. If you are primarily working with your sales accounts from protel SD, you can also compile your articles in protel Cloud Center (without article number and sales account allocation) instead of in protel SD. Decide flexibly how you would like to compile your products. |
Select a product from the list and adapt it especially for the online shop.
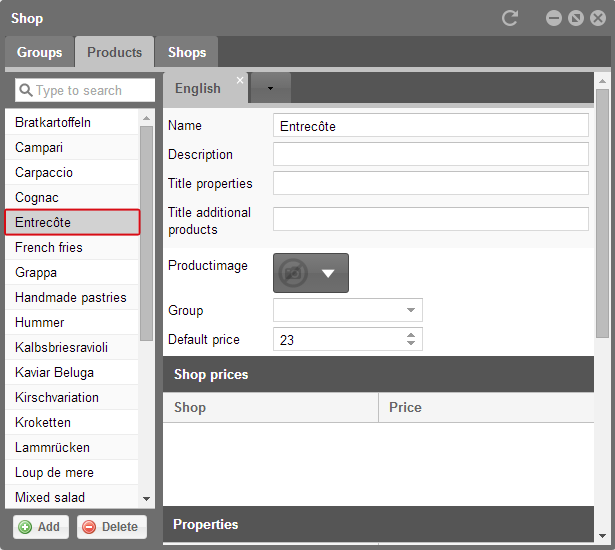
- Click on a product in the list and you will receive additional editing options in the right part of the window. You can change the article’s name for your shop and use names that will promote sales.
- Then, enter a more detailed product description.
- In the following fields, you can enter the titles for the properties and additional articles. You will only need this title if you apply additional properties and/or articles for this product. For the example in the screenshot above, you could add the various cooking stages for the steak (rare - medium/rare - medium - medium/well - well done). The title of the properties would then be called, e.g., “How would you like it?”. For the additional articles, you can enter various side dishes and use the title “Side Dishes” for the additional articles.
- By means of the gray button below, you can upload an image of the product. You should save images for your products in order to be able to visually offer them to your guests in the shop.
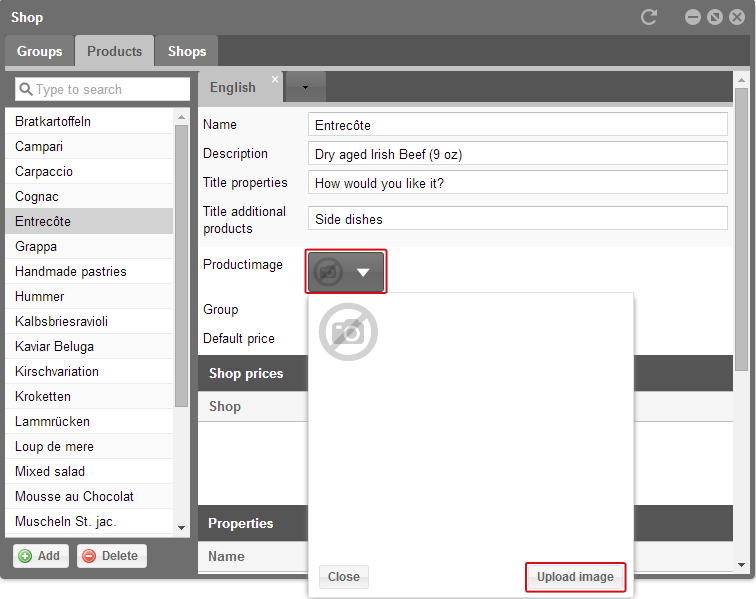
In order to upload a product image, first click on gray button and then the [Upload Image] button. Select the desired image from your hard drive; it will then be displayed as a thumbnail.
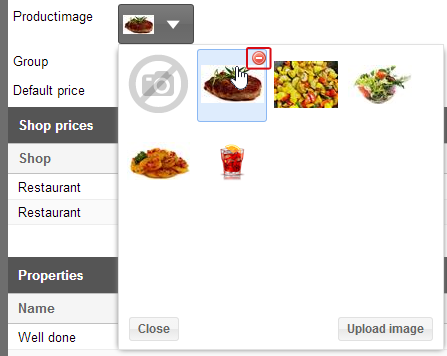
When wanting to delete an image from the preview window, place the cursor on the image and click the delete button in the top right corner.
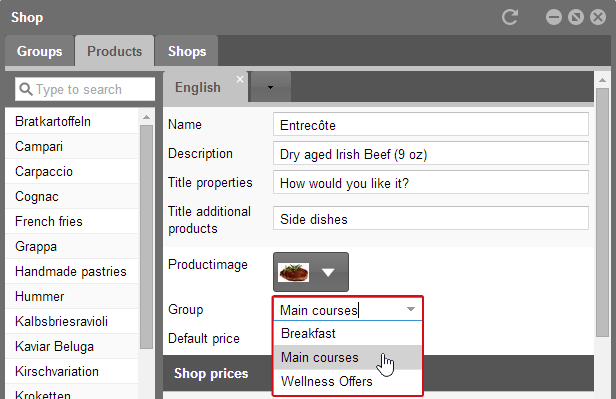
Afterwards, allocate the product to a group which you have created in the first tab.
You will see the standard price of the product used by protel SD in the field below. If you would like to create a separate price for the shop, for example to charge an additional fee for room-service, please enter this price if you have allocated the product to a shop. The default price for all products which have been synchronized from protel SD to the Cloud are grayed out.
If you do not enter a price for the shop, but instead would like to basically change the price of the product, you can change it in the protel SD. By means of the constant synchronization, the new price will also be used in the Cloud.
Below the default price field, you will find a list of the articles and in which shop and price they are offered.
In the next step, you will edit the properties. In our example, select the various cooking stages for the steak.
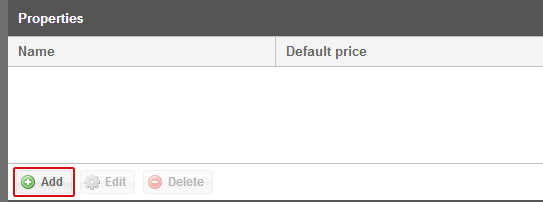
Click on [Apply] to add a new property.
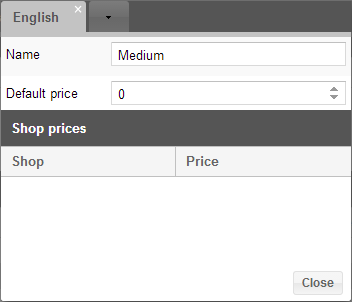
A new window opens. Enter a name for the property and, if desired, a price. As soon as the property has been allocated to a shop, it will appear in the list below. After you have entered a name and a price, click on the [Close] button.
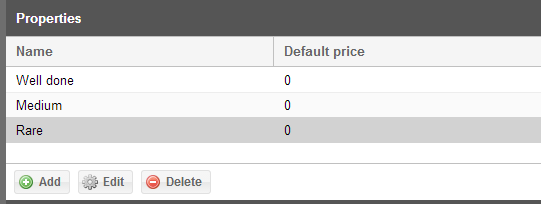
All of the properties will then be listed in the product view. Selection possibilities for the cooking stages will not be charged separately, this is the reason why a price had not been added.
In the next step, you will create an additional article. This example used the side-dishes for the steak.
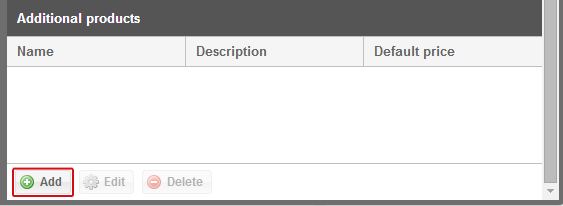
Click on [Add].
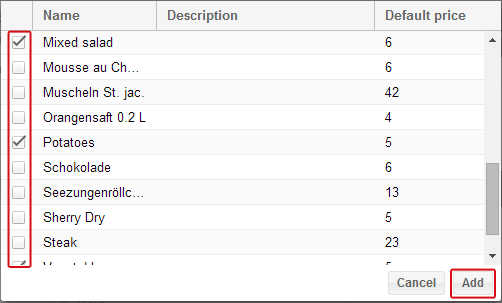
A window opens in which you can select other products as additional articles. Use the check boxes to select the products you would like to offer with your product. Then click on [Add].
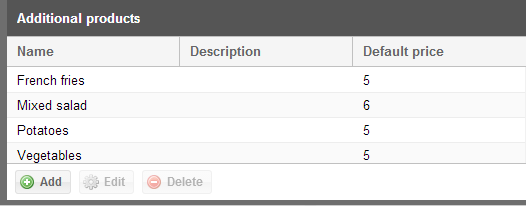
You will then see all of the products you have selected in the overview. In doing so, you have made all of the settings for the product.
The settings would look like this in protel Voyager:

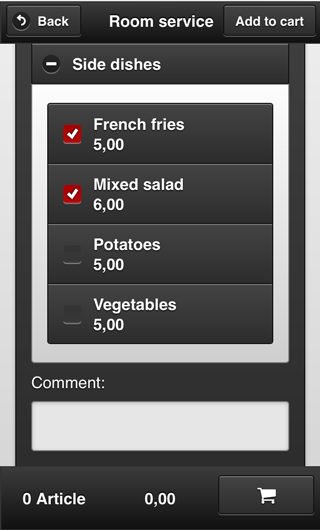
Example of a product in protel Voyager
Edit the next product from protel SD or add a new product directly into the protel Cloud Center. After you have setup all of the products as desired, switch to the “Shops” tab.
Shops
At the top, click on the “Shops” tab and create one or more shops for protel Voyager.
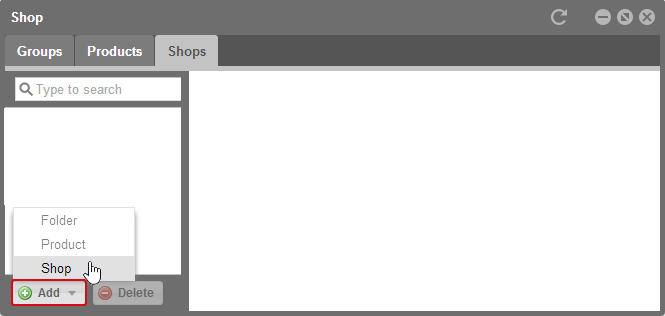
To create a new shop, click [Add]. At first the “File” and “Product” entries are grayed out. When you have created a shop, you can also create files and insert products.
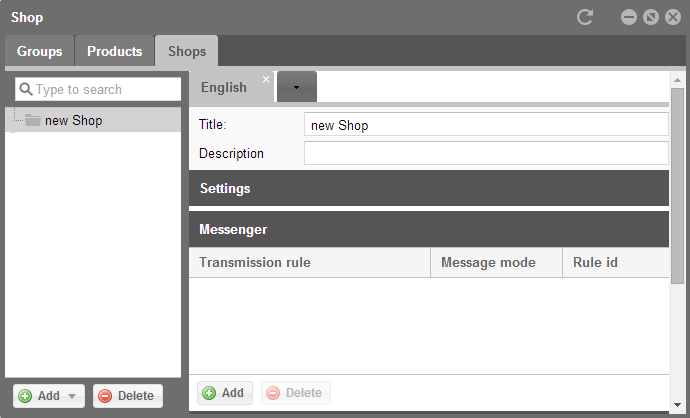
You can make additional settings for the new shop in the right side of the window.
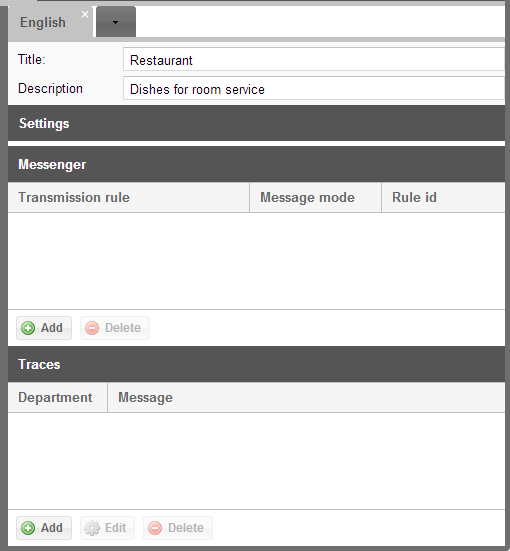
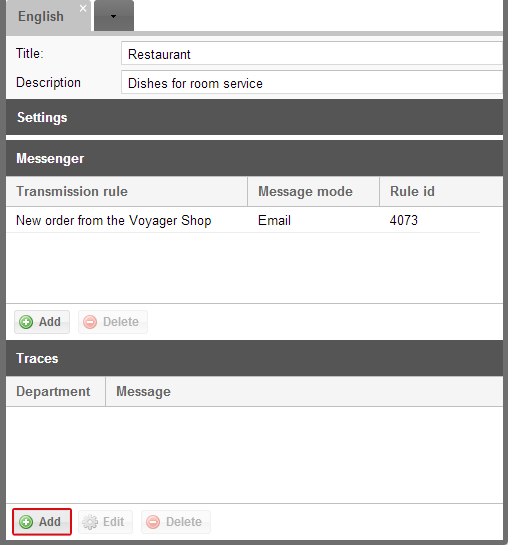
Enter the title and a description of the shop. Underneath you will have various possibilities of informing the respective employees about a new shop-order.
- Via Messenger, you will be able to send emails or SMS as soon as a new order has come in.
- With Traces, you can inform the respective department with a trace that there is a new order.
Messages with Messenger
In the area “Messenger”, click the [Add] button, in order to create a message using Messenger.
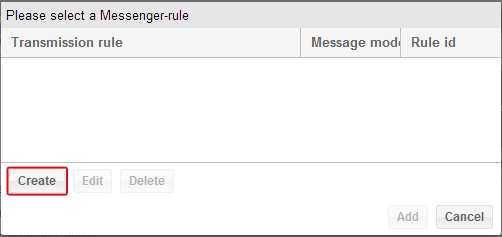
A new window opens. Click on the [Create] button in order to create a new message rule.
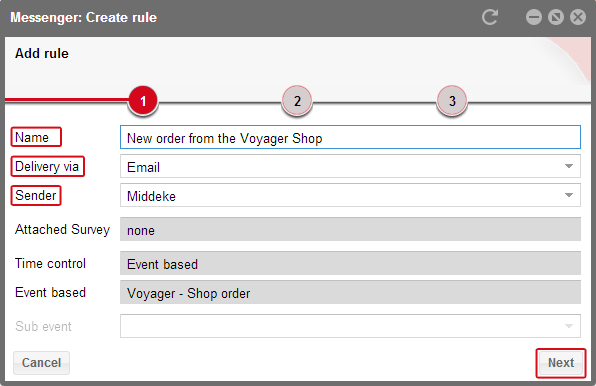
A protel Messenger dialog box then opens in which the event for the message has been preset. You will only have to enter a name for the transmission rule, then simply select the transmission channel and eventually another sender. We recommend “Email” to be the transmission channel, so that all of the information about the order can be viewed directly in the message.
Then please click the [Next] button.

In the second step, create a manual recipient. To do so, click the [...] button and enter the email address to which you would like to send the message about the order.
Then please click the [Next] button.
In the third step, enter the message to be sent, if a new order has come in. Use the following replacement codes in order to show all of the important information about the order directly in the email.

- First select a language.
- Then enter the subject.
- Create the message using your own text and replacement codes.
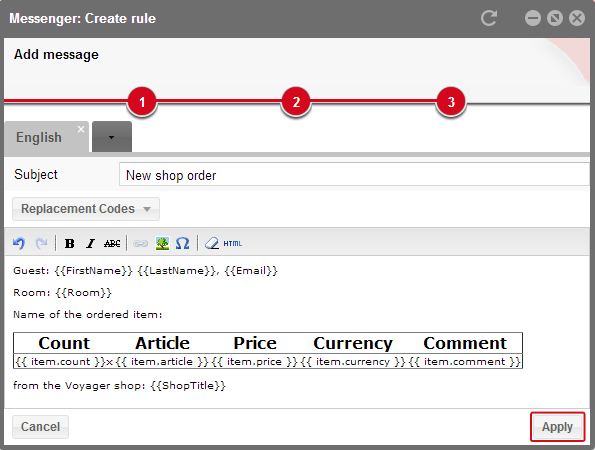
After you have entered all of the information, click on [Apply].
Note Detailed information about creating messages in protel Messenger can be found in a separate chapter in this help. |
A new transmission rule will then be displayed in the overview.
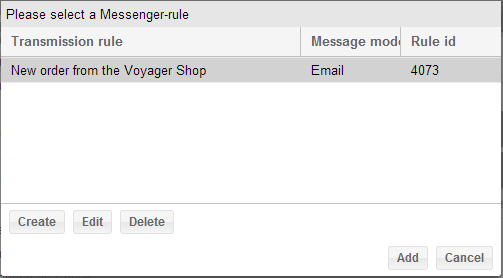
Once there, click on the [Add] button and the Message created for this shop will be activated.
Traces Notifications
If you work with Traces, insert a new traces notification.
In the “Traces” section click on the [Add] button.
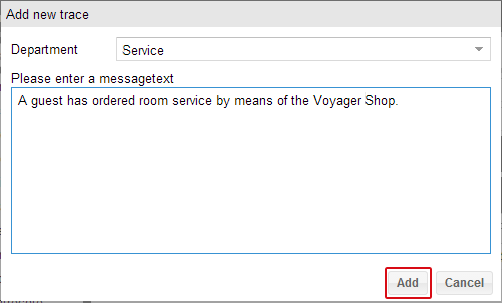
Select the responsible department and enter a text. Afterwards, click on the [Add] button.
Should an order then be executed via the shop, the ordered product will appear as a trace in protel FO.
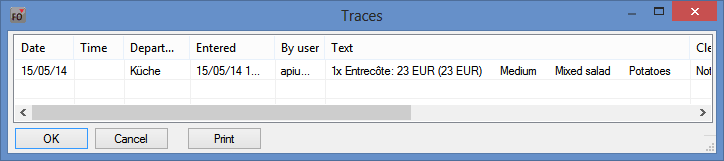
protel FO > Navigator > Traces
The respective department will receive all of the relevant information concerning the order via the Trace.
Designing the shop
After you have created the shop, you can continue designing it by adding sub folders and products.
Creating folders
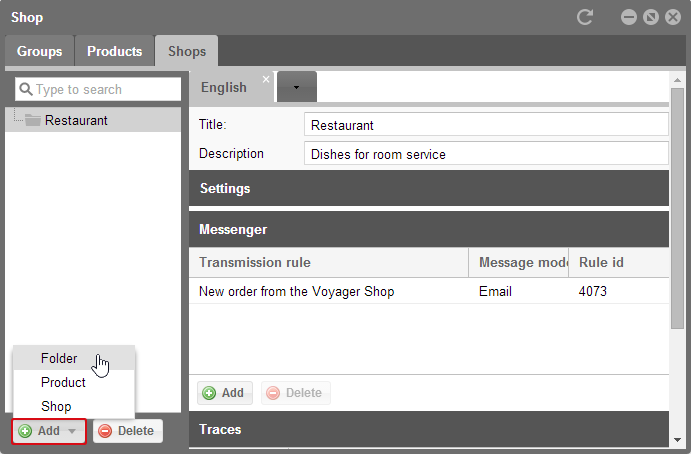
Click the [Add] button located in the “Shops” tab and select a folder. In the “Restaurant” shop, you can create a folder for snacks, main courses, and beverages. Just like for the shop, you can save messages for the folder in the right side of the window. When saving messenger rules or traces, they will be transmitted additionally with the messages which had been saved for the shop.
Adding products
Then, click on [Add] and select the “Product” entry. A new window opens, ...
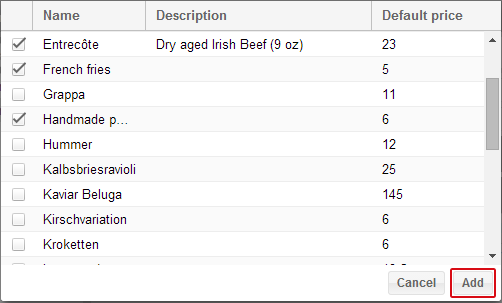
... in which you can select the desired products for your shop or the respective folder. Confirm your selection by clicking on the [Add] button.
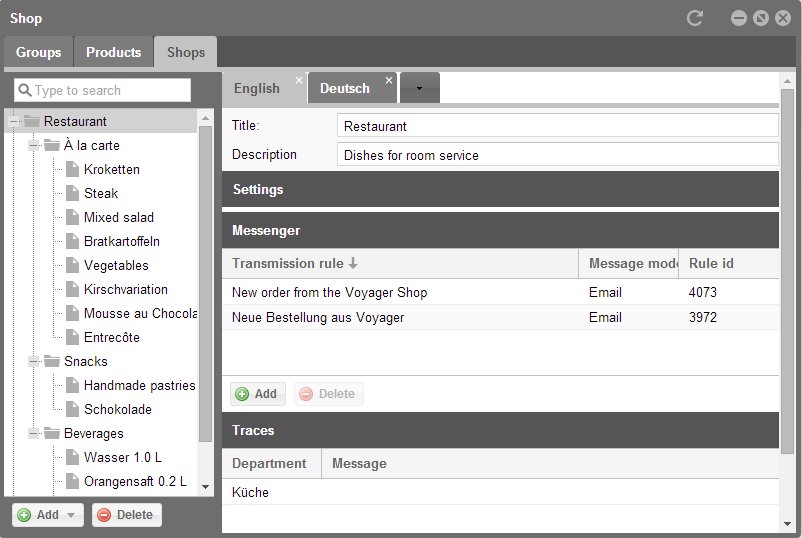
After having added the folders and products to your shop, it could look like this, for instance:
In order to move or display the individual products in a different order, click the product, keep the mouse button depressed and move it to the desired position and release the mouse button (drag & drop).
When wanting to remove individual products or files from the shop, click the button and then the [delete] button.
A well-designed shop enables your guests to navigate in the shop easily and quickly be able to find the desired product.
Adjusting products
You have the possibility of adapting your products for each shop. This can enable you to determine various prices or displays for the same product.
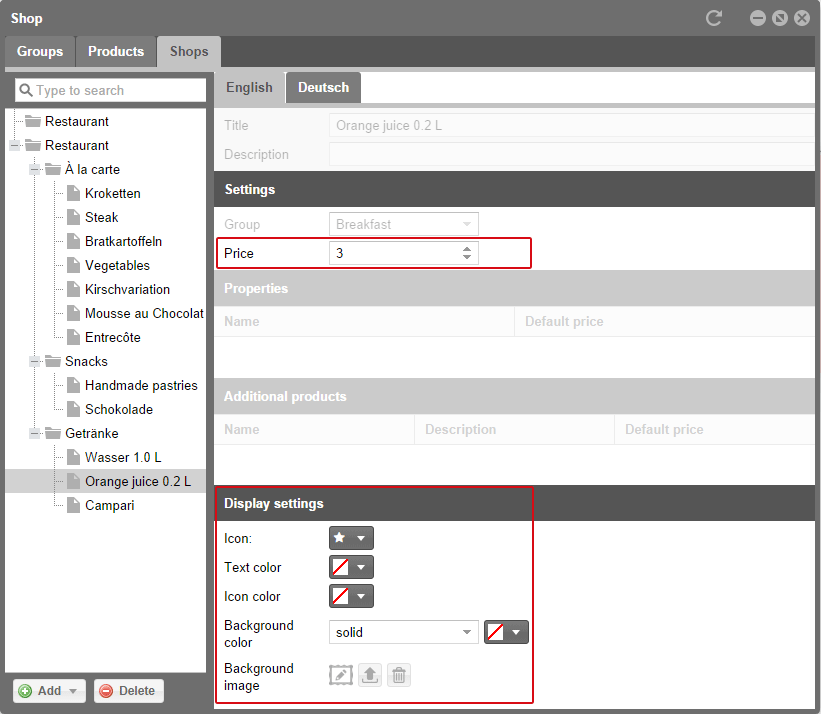
For example, should you have set up a shop for the breakfast from 6 am - 11 am, and a shop as a bar from 10 pm - 6 am, you can determine that the orange juice for breakfast will cost € 3.00 for breakfast and € 4.00 from the bar in the evening.
All other fields except for price and display settings will be grayed out. These can only be configured for the product and not specially for the shop. In order to edit these fields, please switch back to the “Products” tab.