Payment methods
[System data  POS
POS  Payment methods]
POS tab
This is where you generate the various cash registers that are to be
managed in protel Air. The number of the registers being generated normally
depends on the size of the hotel, i.e., the number of employees working
at the cash register. Smaller hotels often only have a single cash register.
In larger hotels, however, it is advisable to create exclusive cash register
numbers for each employee which of course are protected by a password.
We recommend creating an exclusive cash register number for each register
and work-shift. Example: There are two registers in the reception area
and the hotel has 3 work-shifts on a daily basis: Early 1 + Early 2, Late
1 + Late 2, Night 1 + Night 2; all in all, there 6 cash registers need
to be created.
A separate cash register report needs to be created for each cash register
closure.
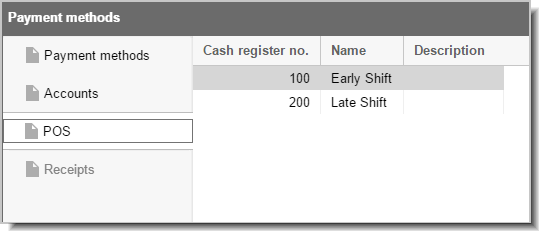
The cash registers which have already been created will appear in the
dialog box as a list view.

Create new cash registers
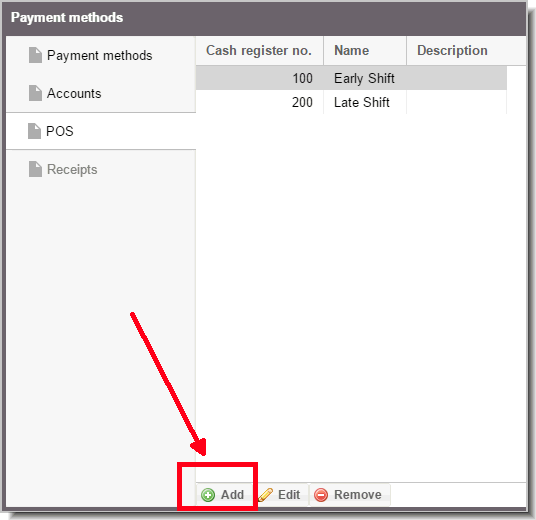
Click on [Add] to add
a new cash register.

Issue a cash register number.
If none of the cash registers is "active", the cash register
number will be required before each new posting.
You will then be required to enter a name
for the cash register (e.g., the name of the work shift) and, as need
arises, issue a password.
In the "Stock"
table, you can record the fixed exchange amounts for the individual
methods of payments.
Click on [OK] to create the cash register.
Editing cash register
Changes for an existing cash register can be done by selecting the register
and clicking on the [Edit] button.
In the following window, you will be able to enter the desired changes
and save them by clicking on [OK].
 The protel Air
upgrade in Summer 2020 brought about changes to the
user interface and also to many functions.
 POS
POS 

