Create pass for Passbook
Important! This function is currently not available in protel Voyager due to technical reasons. |
“Passbook” is a pre-installed app on all current iPhones. Passbook allows you to digitally manage all of your boarding passes, movie tickets and coupons. Instead of having to dig through your wallet to find the tickets, Passbook saves the respective QR codes for you. This can be very practical when traveling. The guest has all of the important documents saved to his iPhone and the guest is even respectively reminded on the day of the event.
To enable your guests to save a ticket for quick-check-in, you will have to create one in the protel Cloud Center. The ticket contains a QR code, which can be scanned with protel for iPad. The guest arrives, presents his QR code to the front-desk, and the hotel employee scans the guest’s mobile display with protel for iPad. Check-in is then but a finger-tap away.
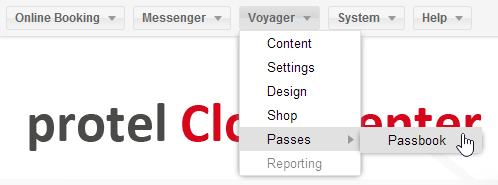
Open “Passbook” by means of the voyager menu.
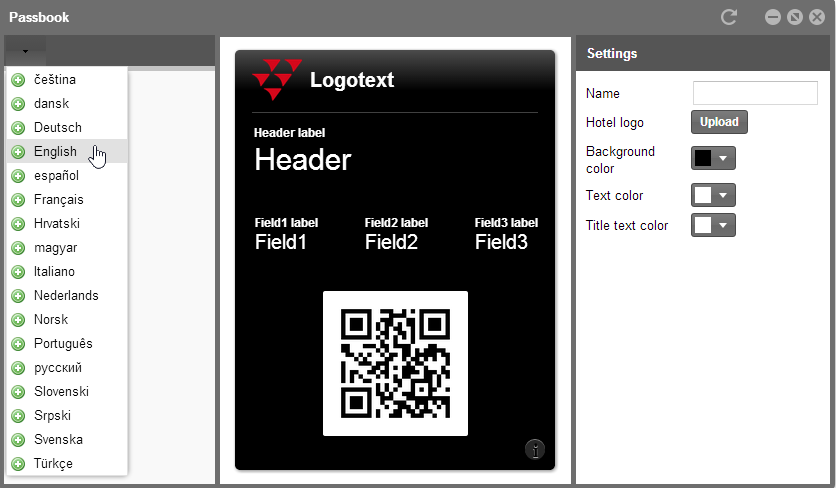
Using the selection menu in the upper left, you will first have to select a language. In the left column, you will be able to edit the four individual text fields. Not all of the four fields will need to be utilized, but the maximum number of text fields has been limited to 4 by Apple’s Passbook app.
First the “Front” tab is opened. Enter a title for your pass.
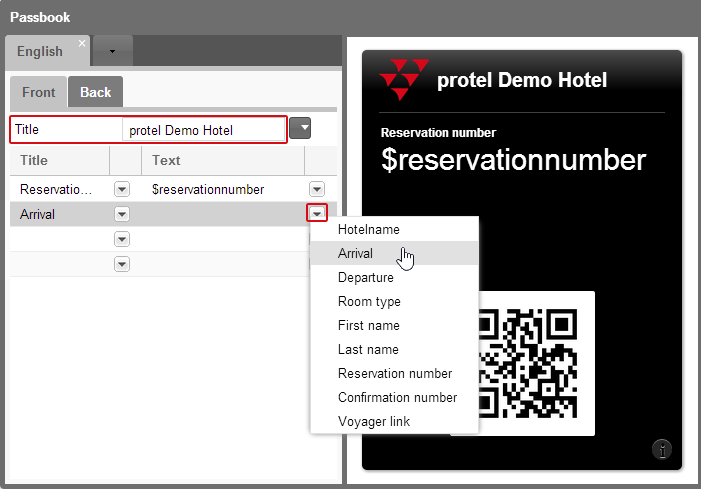
Edit the text fields below. You basically always have the possibility of entering a text directly into the field or using the arrow-button to select a replacement code for this field. You can also use a combination of both and enter the guest’s arrival and departure dates by means of the replacement codes and then enter a text for the generally valid check-in and check-out times.
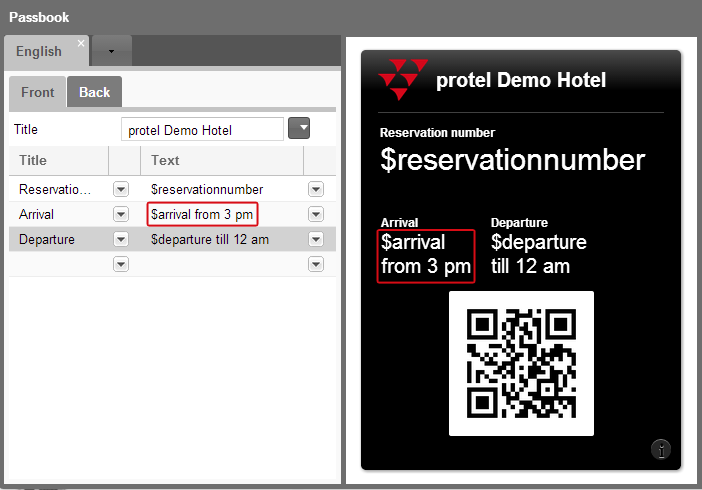
Everything you enter into the field to the left, can be seen as a preview in the central column.
After having entered the contents for the front page, you will then switch to the “Back” tab.

Click on [Add] when you get there to edit the back page. At the top, you will enter a text field as you did for the front page.
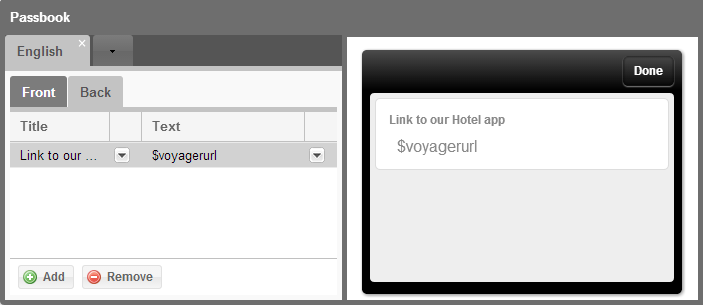
Enter, for example, a link to protel Voyager. Because if the guest saves the pass to his iPhone, he should be able to use it to open the app at all times. This link offers the guest an additional advantage because his name and reservation number are already included and no longer need to be reentered for the login to Voyager. The guest simply taps the link and will be navigated directly to the Voyager desktop.
After having filled both the front and back pages, you can use the settings functions located in the window’s right column to make changes to the appearance of the pass.
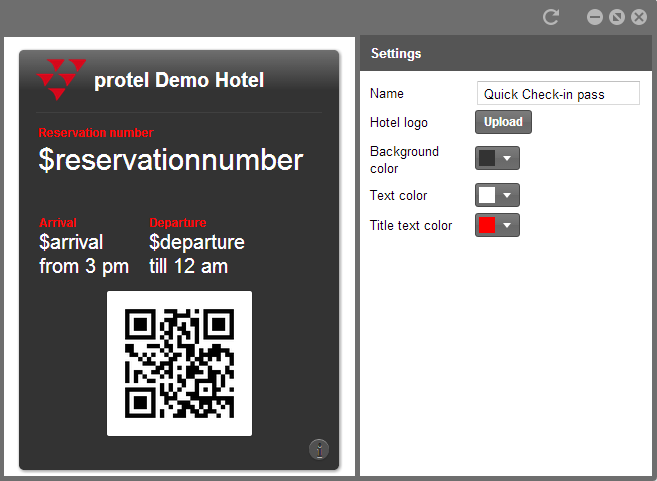
- Enter a name for the pass
- Select your hotel’s logo
- Select the color of the background, text, and title text
All of your changes will once again be visible as a preview in the central column of the window.
After having made all of the settings needed to allocate your corporate design to your pass, it could look like this, for example:
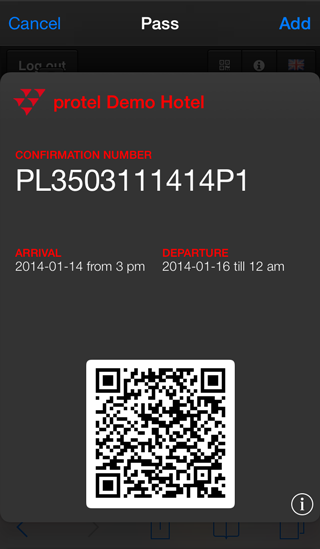
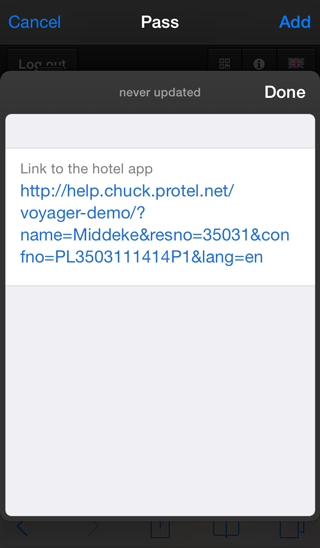
Example of a pass (front and pack pages) for Passbook from protel Voyager
Please make sure that you have activated the Passbook option in the Settings. As a result, the pass you designed will be able to be saved to the guest’s iPhone by means of the “Add to Passbook” button from protel Voyager.