Create contents
Content
This chapter will tell you how to enter and design the various content elements.
Note When setting up new contents, please make sure that you select the right hotel! Although it is possible to set up protel Voyager for a hotel group (MPE level), we do, however, recommend setting it up for each hotel separately (hotel level). Single functions, such as the online shop, require the hotel’s system data and are therefore only available at the hotel level.
|
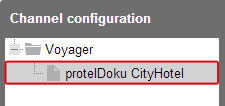
Table of Contents
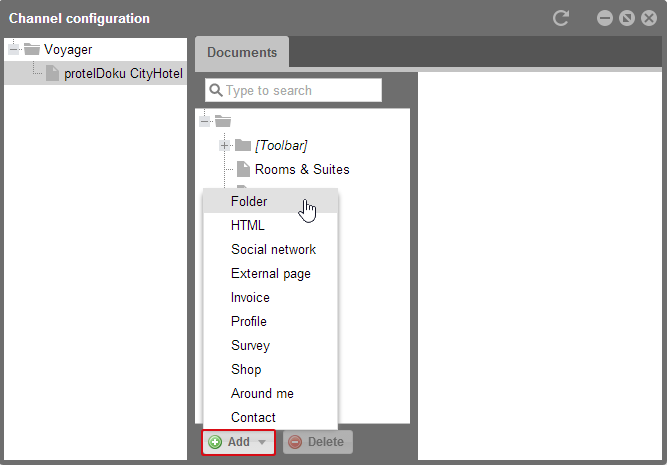
You will first need to add a new content.
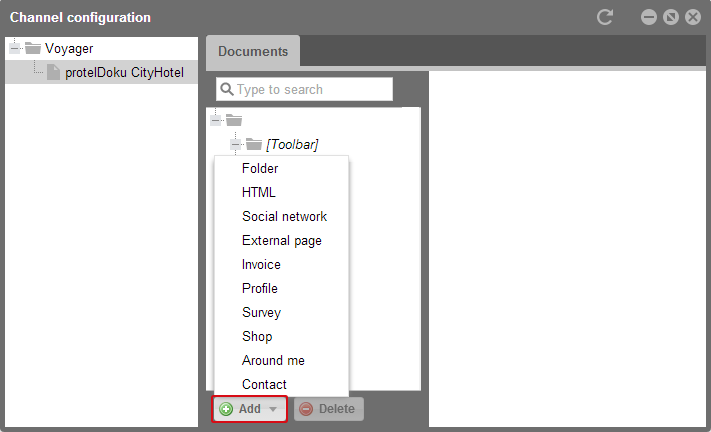
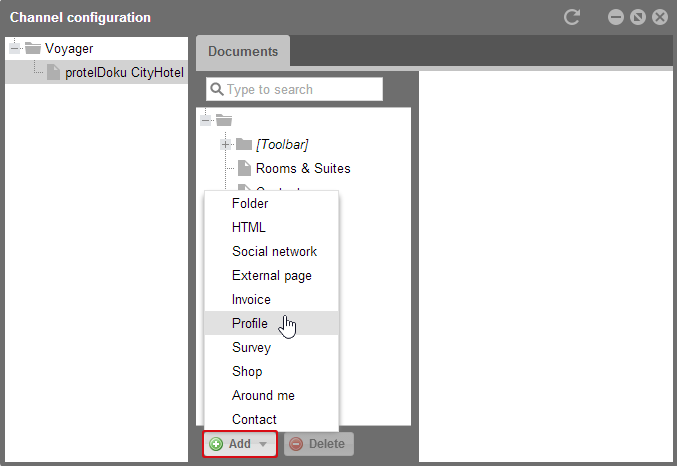
The [Add] button will take you to the contents selection.
When selecting an element, it will be listed in the middle column of the window. This column serves as a table of contents. In the right part of the window, you can edit the element.
HTML
For example, insert a new HTML page:
Voyager > Contents > HTML
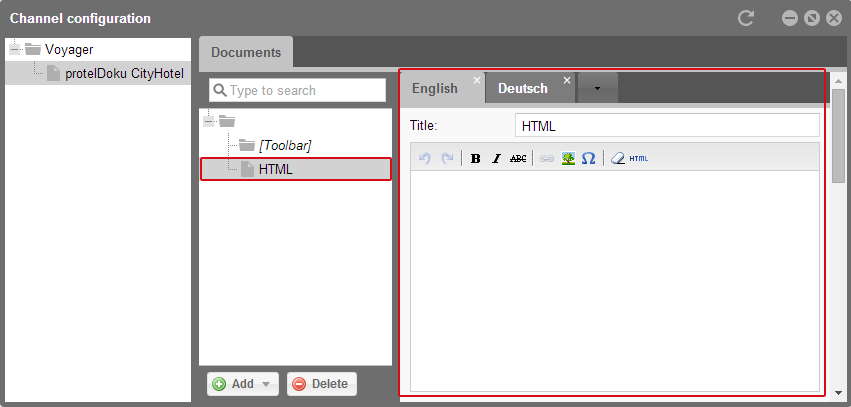
The new HTML page has now been inserted into the middle, but does not have any contents yet. In the right part of the window, you can now enter a title, some text and images.
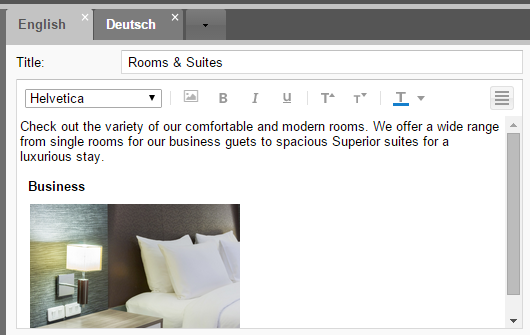
Create a tab for every language in which your content should be displayed. Enter, for example, an English text into the “English” tab and a German text respectively into the “German” tab.
First, enter a title and then a description into the editor below.
You can also insert images there.
Inserting images
You can also insert images into your message. To do so, click the images
symbol ![]() located in the tools list. It will also allow you to replace already existing
images, e.g., the wild card images of the templates.
located in the tools list. It will also allow you to replace already existing
images, e.g., the wild card images of the templates.
A new window opens:

protel Cloud Center > Voyager > HTML > Insert/edit image
Select the [Upload image] button and select an image which you would like to upload from your PC. It will then be displayed as a preview. You can then insert the image by clicking on [OK] or use ("More Options") to further format the image.
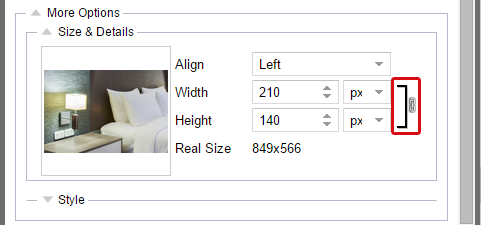
First click on the little arrow next to "More Options". You will then see both of the sub-sections "Size and Details" and "Style". Next click on the little arrow in front of "Size and Details".
protel Cloud Center > Voyager > HTML > Insert/edit image
There you will be able to change the alignment as well as the dimensions of the image. By clicking the chain links located at the right edge, you can determine the width and height are to be changed proportionally or independently of one another. The chain links at the top of the screenshot are disconnected (= disproportional). If the width and height are not dependent on one another, the image can appear warped.
The original size of the image will also be displayed to you; if you no longer remember the original measurements, simply look at the numbers below the selection fields ("Real Size").
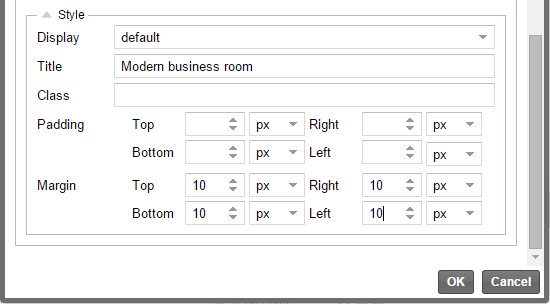
In the area of "Style", you will be able to make more settings.
protel Cloud Center > Voyager > HTML > Insert/edit image
Select an alignment for the image and enter the title of your image. The title will then be displayed when moving the mouse cursor across the image.
You will only need the "Css-Class" field if you have previously designed an HTML mail with exclusive Css-Classes. Otherwise you can simply leave this field empty.
Afterwards, you can still enter the distances for the diagram to avoid that the frames touch the image in an unsightly manner. Once you’ve completed all of the formatting, click on [OK].
Your content will be shown with the inserted image:
protel Cloud Center > Voyager > HTML
After having created and edited the contents, you can now proceed to make display and visibility settings. These are explained in detail in the chapter entitled Configuration of Contents.
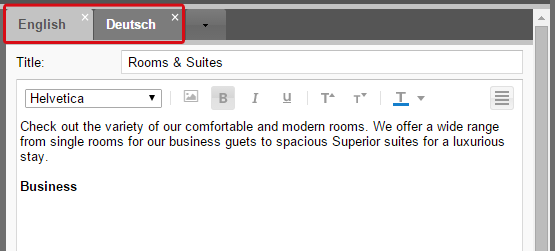
When offering the contents in German and English, you will switch to the next tab and create a translation of the contents.
External page
The external page is an additional contents element. This is where you insert the pages which you would like to make available to your guests.
Important! Please make sure that all of the external pages are utilizing the same transfer protocol being used by your Voyager URL! If your Voyager URL starts with “http”, then you can only link http-websites. You can also only insert https-websites if your Voyager URL begins with “https". |
Click on [Add]...
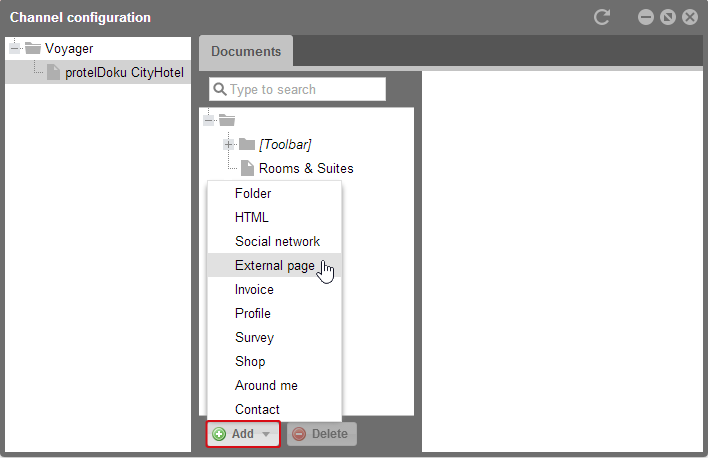
...and then on “External page”.
In the right part of the window you will be offered various editing options.
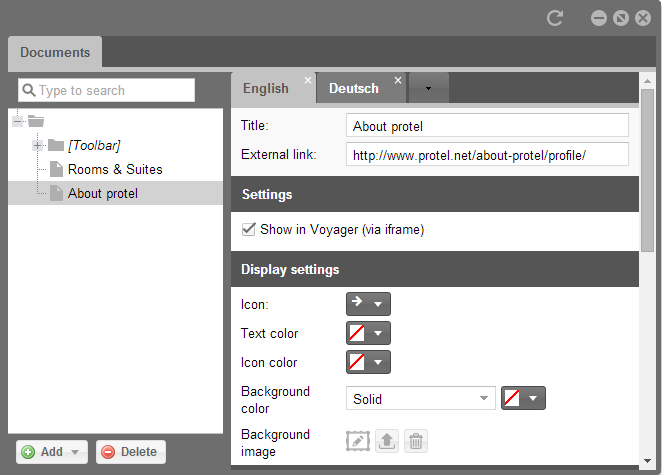
Enter the title and the website’s URL. When offering two languages in protel Voyager, please make sure to extend the respective language parameters in the URL.
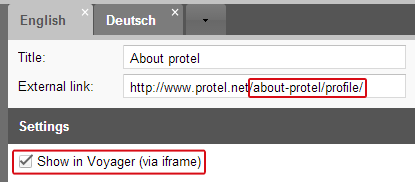
For the English Voyager user interface, enter the link to the English website. Respectively, for the German version of your Voyager contents, enter the link to the German website.
Show in Voyager (via iframe)
In the settings below, activate the “Show in Voyager (via iframe)”. In doing so, you are making sure that the guest does not leave protel Voyager, even when accessing an external web page. The web page will be displayed within the app by means of iframe. The guest can read the external content while remaining in protel Voyager.
Has this option not been selected, the external page will open in the browser window of protel Voyager and as a result the guest leaves the app. If you have designed a special target page for a sale or special offer, you can link your guests to this page from protel Voyager and deactivate the iframe function for this. For most of the external pages, however, we assume that you would only like to make them available to the guest without having them end the app. Therefore, we recommend that this option be normally activated.
After having created and edited the contents, you can now proceed to make display and visibility settings. These are explained in detail in the chapter entitled Configuration of Contents.
When offering your contents in both English and German, insert an additional tab for German.
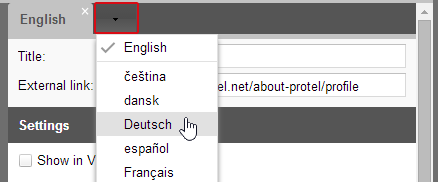
Click the arrow button and select “Deutsch”. In the new tab, enter a German title for the web page and the URL with the German language parameters. All of the other settings will now be adopted from the other language.
Social Network
Also link the social networks you use. To do this, it is important that you have saved the social network to the hotel information in the protel Cloud Center. Here, you only need to select which social network you would like to display in protel Voyager. Information about the network will be entered into the hotel information.
Note: Enter the social network into the hotel information Open the “Online Booking” menu and click on “Hotel information”. 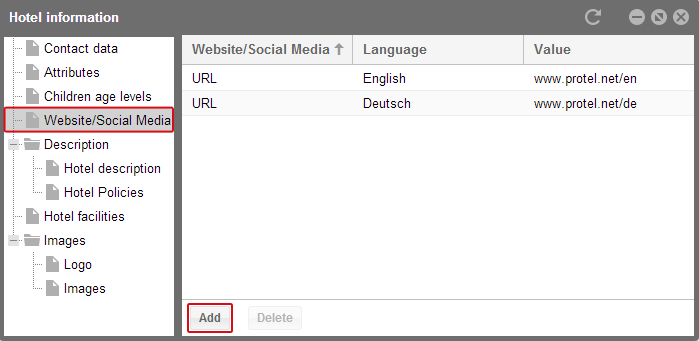
protel Cloud Center > Online Booking > Hotel information> Website/Social Network Click on [Add] and a new window will open.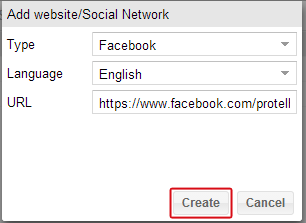
protel Cloud Center > Online Booking > Hotel information > Add website/Social Network Select the social network, the language and enter the respective URL. The social network is now available for all of your cloud modules. |
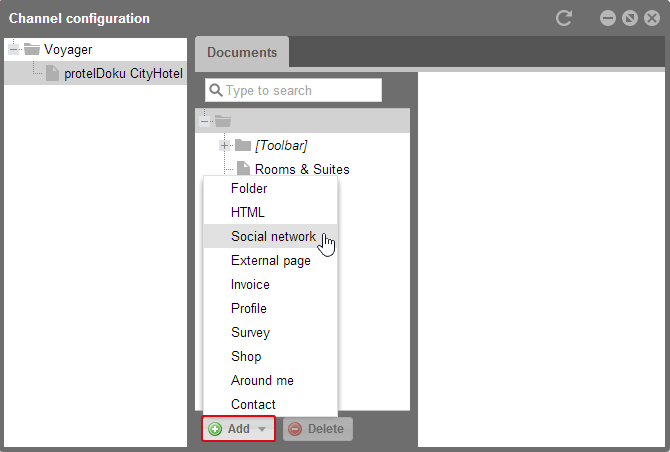
After you have configured your social networks in the hotel information, you can now simply add them to protel Voyager.
Click on [Add]. The editing options will then appear in the right part of the window.
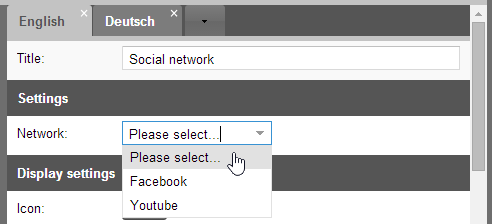
In the settings, select the desired network and enter a title, for example the name of the network.
Important! The Youtube function is currently not available in protel Voyager due to technical reasons. |
Afterwards, you can now proceed to make display and visibility settings. These are explained in detail in the chapter entitled Configuration of Contents.
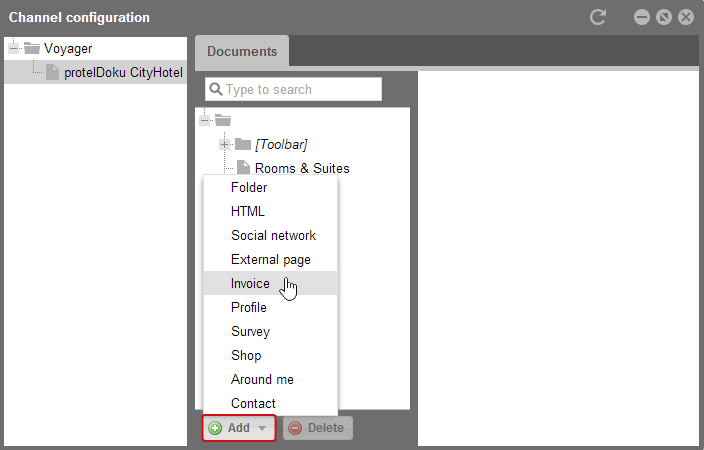
Invoice
Give your guests the possibility of always having access to their current invoice. To do so, add the “Invoice” contents to protel Voyager.
The editing options will be displayed in the right part of the window.
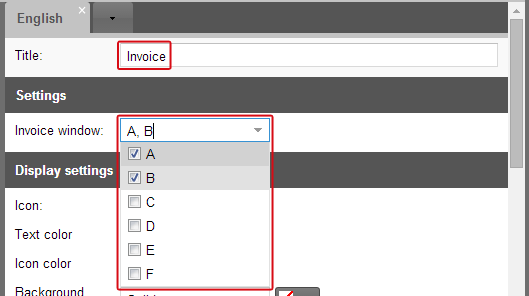
Either keep the standard “invoice” title, or give it a new title. Then in the next step, select the invoice window which your guests are supposed to see.
The guest will be able to view his own invoice when he logs into protel Voyager using his confirmation number.
You can then proceed to make display and visibility settings. These are explained in detail in the chapter entitled Configuration of Contents.
Profiles
Using the “Profile” point, you give your guests the chance to view or edit their own personal data.
Add the contents of the “profile” to your app.
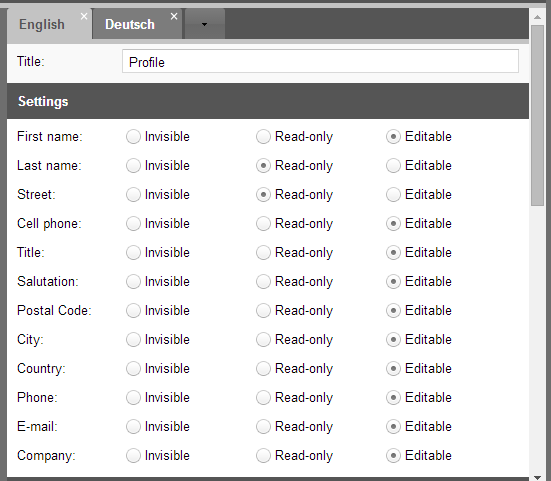
In the right part of the window, you will receive the respective editing options. First, you can change the title. Underneath you will find an overview of all of the profile information which you can choose to show and if the guest should be allowed to edit it. All of the data, excluding last names, can be directly changed by the guest and will also be directly synchronized with protel FO. Because the guests with a reservation login to Voyager using their last names, this information cannot be changed; it is used while a guest edits his data.
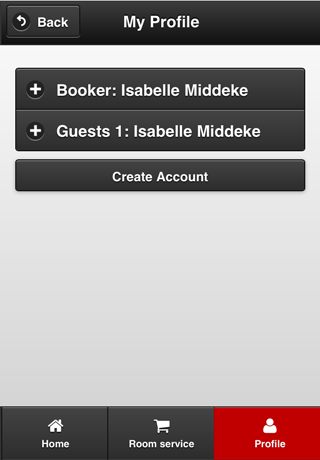
You can enable your guests to create their own user account.

Therefore, activate the checkbox "Allow users to create an account" When the guest is opening the "Profile" content in Voyager, the option for creating an account is offered. This could look like this, for example:
Afterwards, you can now proceed to make display and visibility settings. These are explained in detail in the chapter entitled Configuration of Contents.
Shop
First create an online shop, as described in the Create a shop chapter and add this as Voyager contents.
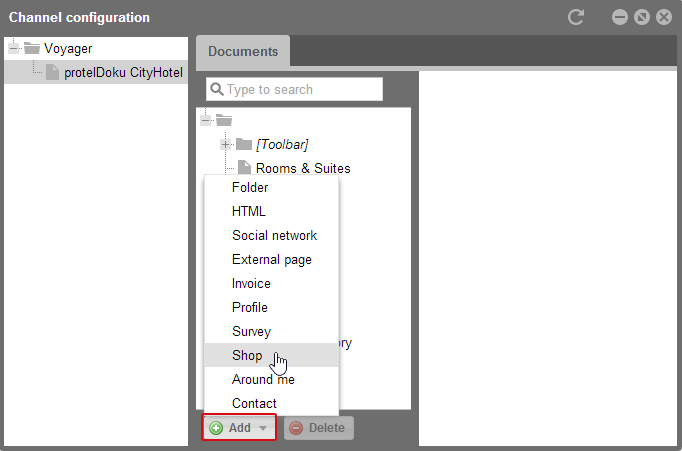
Click on [Add] and select “Shop”. Then a new window appears.
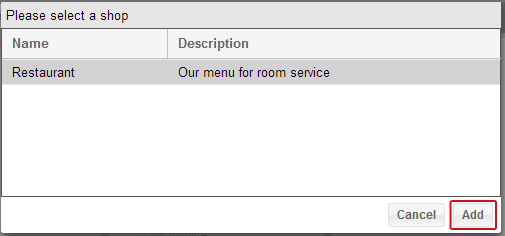
Once there, select a shop and click [Add]. In the right part of the window, you can then make additional settings for the shop.
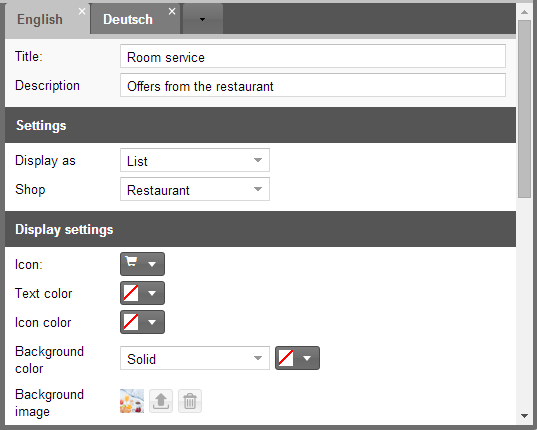
You can change the shop's title for the Voyager desktop and enter a description.
In addition, determine whether or not the shop’s contents are to be displayed as a list or as tiles.
Afterwards, you can now proceed to make display and visibility settings. These are explained in detail in the chapter entitled Configuration of Contents.
Around me
The “Around me” content shows the guest which offers are available near his location. To do so, he has to activate his GPS on his phone upon which he will be shown a map indicating what is available near his location around him.
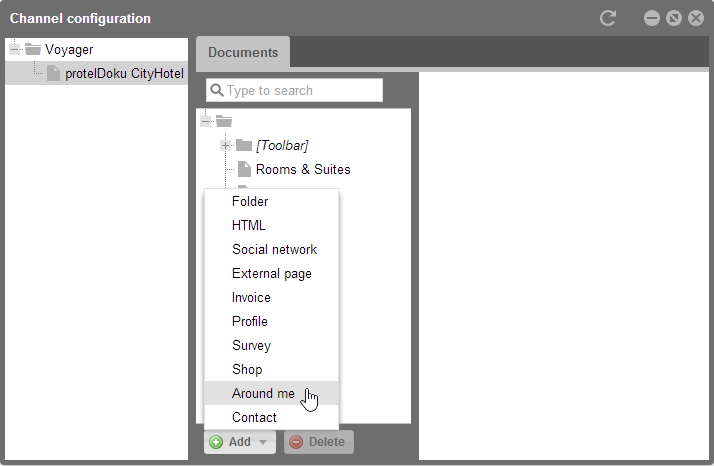
Add “Around me” to your Voyager and you will receive editing options in the right part of the window.
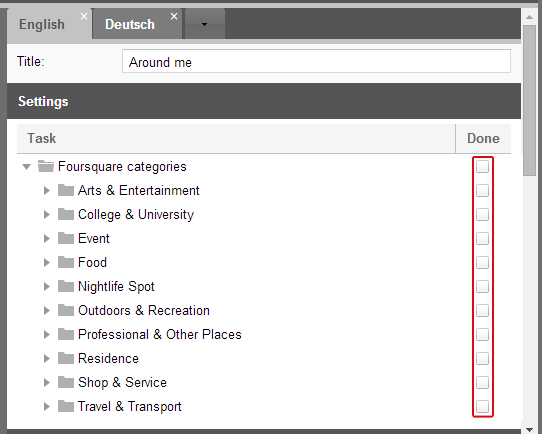
You can enter another title if you want to rename the menu point in your app.
Below you will find a selection of categories which influence the types of offers that will be shown to your guest. Select a check for each category that is supposed to be displayed to the guest. Each of the main categories are divided into subcategories, so that the selection can be made specifically. For example, if you have an Italian restaurant in your hotel, you can show your hotel guests restaurants with other national cuisines, but no additional Italian restaurants. In doing so, you will not be sending your guests to your direct competition.
Afterwards, you can now proceed to make display and visibility settings. These are explained in detail in the chapter entitled Configuration of Contents.
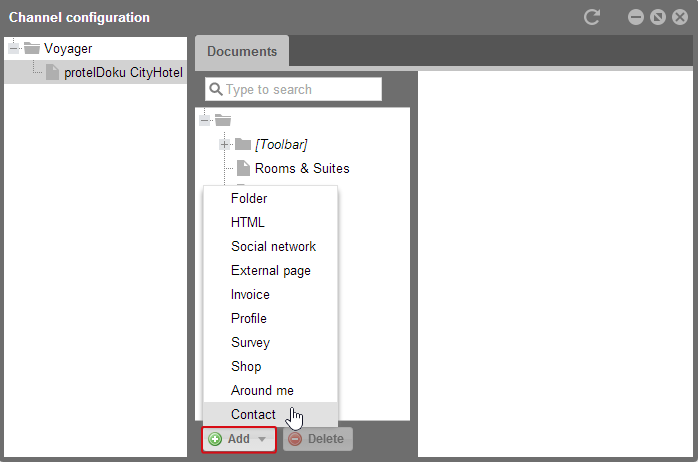
Contact
Enable your guest to contact the hotel directly by means of protel Voyager. Create the “Contact” menu point to do so.
When inserting the item, you will receive the respective editing options in the right part of the window.
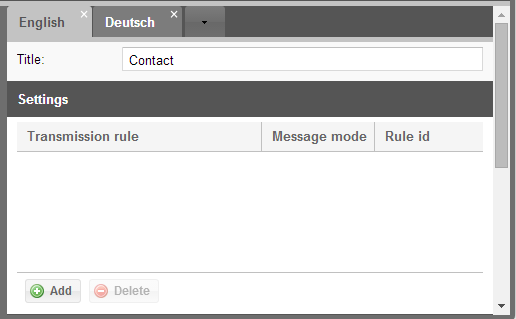
In this window you can create a transmission rule which will immediately contact a hotel employee when a message is received from the guest.
In order to create a new transmission rule, click [Add].
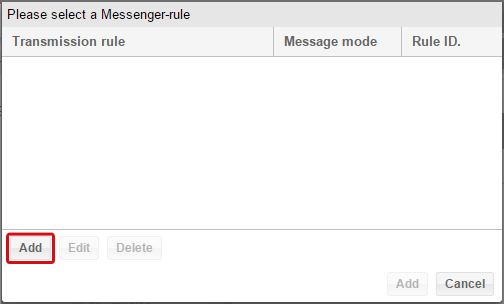
Should you have already created a transmission rule in protel Messenger for the "Voyager - Guest sends a message to the hotel" event, you will now be able to select it here. Should such a transmission rule have not yet been created - like in the screenshot above - click on [Add].
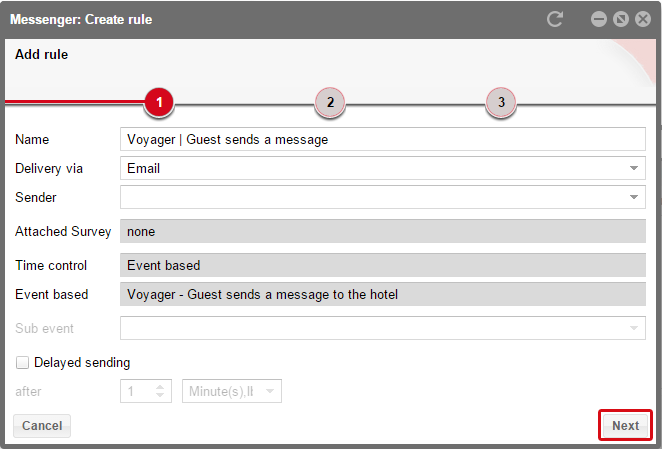
Only enter a name for this transmission rule - all other settings have already been automatically set - and click on [Next].
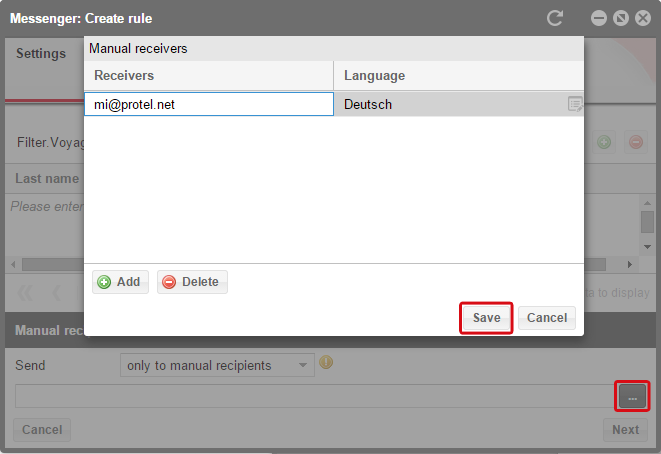
In the second step, click on the button with the three points (lower right) and enter into the pop-up window the manual recipient, who should receive the guest message. Confirm the recipient by clicking [Save] and afterwards click on [Next] in the main window.
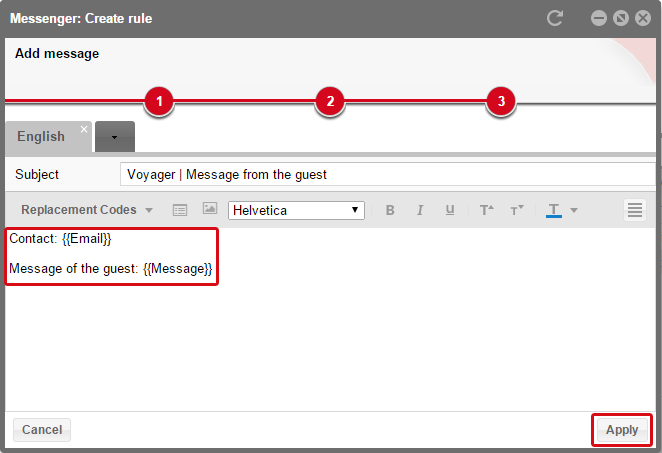
Select a language, enter a subject for the message, and insert the following replacement codes into the message field: {{Email}} and {{Message}}. They will be replaced with the email address and message which the guest enters into the contact form in Voyager.
Then click on the [Apply] button.
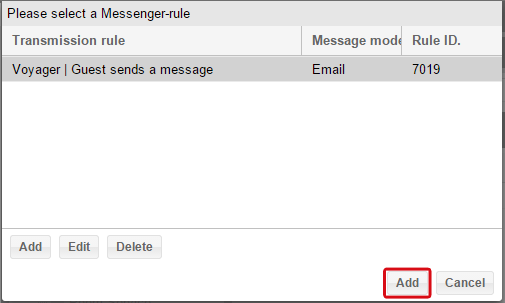
The transmission rule will now appear for selection in the pop-up window. Click on [Add] to select it for your contact form.
Folder
Create a folder to group the various contents. When wanting to show a topic in the app in more detail, you can also create HTMLs and external pages to do so; they will be moved to the directory.
Click on [Add] and select the “Folder”.
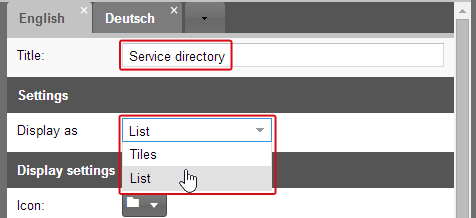
You can then give the folder a title. For example, create a digital (guest) directory; the folder is the directory to which all of the additional information needed by the guest (e.g., breakfast times, emergency numbers, hotel and restaurant information) are then added.
You will then need to determine how the subpages are to be displayed as a list or as tiles.
Afterwards, you can now proceed to make display and visibility settings. These are explained in detail in the chapter entitled Configuration of Contents.
Survey
You can also insert Surveys if you also use protel Survey in addition to protel Voyager.

Click on [Add] and select “Survey”.
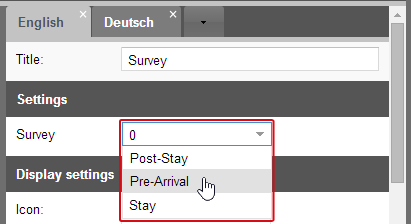
The editing options will be displayed in the right part of the window. There, you will be able to change the title and select a survey.
Click on the Survey drop-down menu and select a survey.
Note The visibility settings enable you to always have the right survey for the respective status of the guest. Create a pre-arrival and a post-stay survey which are only visible to the guest accordingly, i.e., the pre-arrival survey before and the post-stay survey after their stay. This will make sure that you are always asking your guests the right questions at the right time. |
The display and visibility settings are explained more thoroughly in the chapter about Configuration of Contents.